On the face of it, an RS Feva looks like a simple boat to rig. It is a simple boat to rig if you are simply using it for fun. If you want to compete in it then there are a LOT of tweaks you will have to do to the boat to get it to race spec! A friend of mine bought a boat that hadn’t been pimped and he was constantly upgrading it over a period of 3 or 4 months before everything was done.
Here I’ll run through all the things we have either done to our boat, or were done by the previous owner (a previous world champion and Olympic Coach) for his daughter.
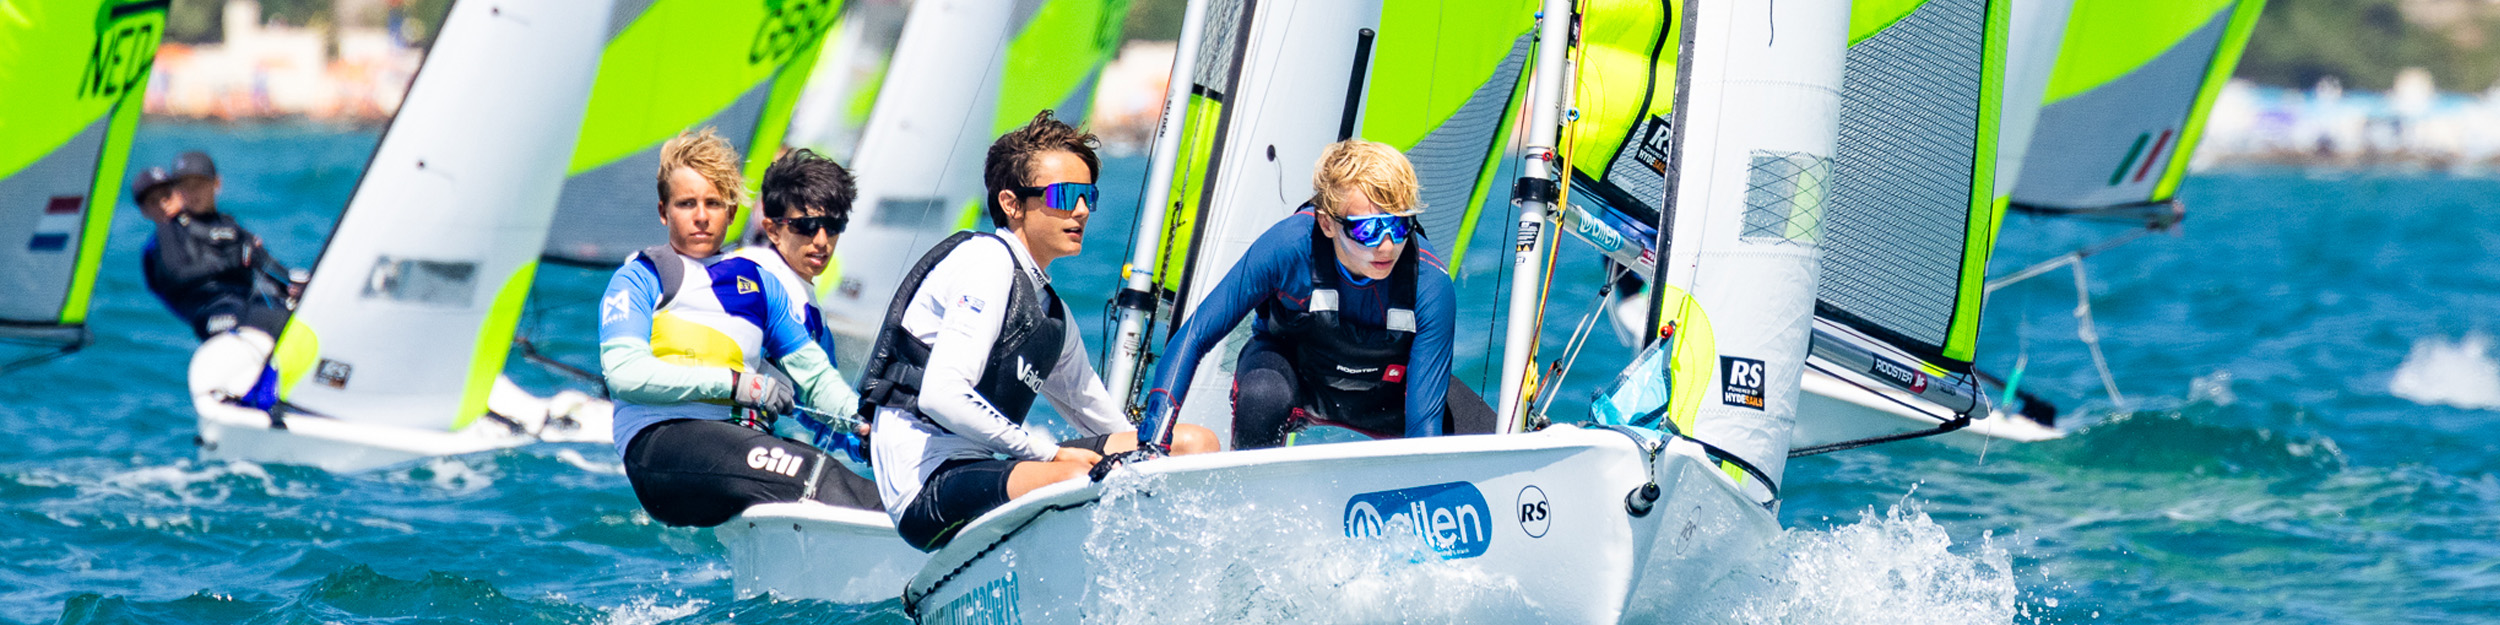
The boat (7070) has won the Nationals and been Worlds top 10 with the previous owner, been 3rd in the Nationals with the current owner and is currently one of the quickest boats on the UK circuit with a GP win under his belt already this season.
Apart from additional bits of rope, you will need the following:
Splicing Fid
Splicing Needle
Dyneema Knife or Scissors – Optional if you have a sharp knife
Splicing Tape – Useful if you are going to do tapered sheets but not essential
Things we’ve pimped: (this is going to be a work in progress as I take photos and measure ropes for each pimp)
1. Sheeting position of spinnaker blocks
A better sheeting position for the spinnaker blocks is inside the shrouds
2. Tape mouth of kite
The spinnaker chute mouth on a Feva is too small for the kite and its forced through the opening. Unless its well taped up with Duct Tape, covering the screws that hold the hoop on too, it will catch and tear
3. Tape mast end of Spinnaker Chute
We found that we were getting holes in the kite around the patch area, we couldn’t figure out why for ages until we put our hands inside the chute from the mast end. You’ll find that when the kite is launched it is dragged across the black plastic edges of the spinnaker chute / foredeck cover, causing holes there. You need to tape this up back to the deck. Also you have to do the top underside of the chute, put your hand inside and along the top underside of the foredeck and you’ll find another sharp edge that needs taping up.
4. Splice end of Downhaul
If you taper the end of the downhaul line leaving about xxxcm and then splicing a brummel eye splice into the end of a piece of tapered 4mm dyneema cored control line will allow you to simply attach it to the post on the clam cleat
5. Friction rings on rig tension
This is one of the best addons you can do, you can easily add enough tension and replicate it each time with use of the tuning strip on the mast. Needs Xm of 3mm dyneema and 2 Xmm friction rings
6. Floating line for spinnaker halyard
Stop your spinnaker halyard dropping back into the cleat by having a line of elastic running between the 2 job cleats. Thread a shackle on to it and locate with a thumb knot either side.
7. Shock cord spinnaker sheet retainers
8. Take up slack on Spinnaker Halyard
9. Shock cord loops for water bottle drink holder
10. One pull mainsheet bridle
Simply adjust your mainsheet with one pull. Do away with the standard set up of having to adjust each side individually. Made of 4mm dyneema
11. Gybing strop for mainsheet
A gybing strop helps you pull the boom across during a gybe.
12. Outhaul System
13. Tapered Spinnaker Sheets
The last 1m of the spinnaker sheets should be tapered. This is easily done with ropes with a dyneema core. The rope diameter is 6mm
14. Continuous Spinnaker Sheets
Do away with having to tie the ends of the spinnaker sheets together in the boat. Taper the ends of the sheets by 1m and then splice a brummel eye in the end of each one. Simply then attach to the Spinnaker with a soft shackle
15. Dyneema Jib top
Using the above rig tension system will mean that the standard 8 plait polyester rope supplied with the boat won’t be man enough. You should replace with doubled up 3mm or 4mm Dyneema and a high load block.
16. Pull crews hiking straps in to centre for larger crews